Improve scan quality and accuracy with CloudCompare
A few minutes in CloudCompare, an open source tool for Mac and PC, can make a massive difference to your SiteScape scans. Here are 4 simple things you can do to take your SiteScape scans to the next level. Watch the tutorial video or follow the steps below.
Automatic Scan Cleaning
Open your scan by clicking the folder icon. To make changes to a scan or when you’re ready to save the scan, make sure you have the file with the cloud icon selected in the “DB Tree”. The first step to clean your scan is filtering out floating points by clicking the button labeled “SOR”. Set the threshold to 2.5 and click ok.

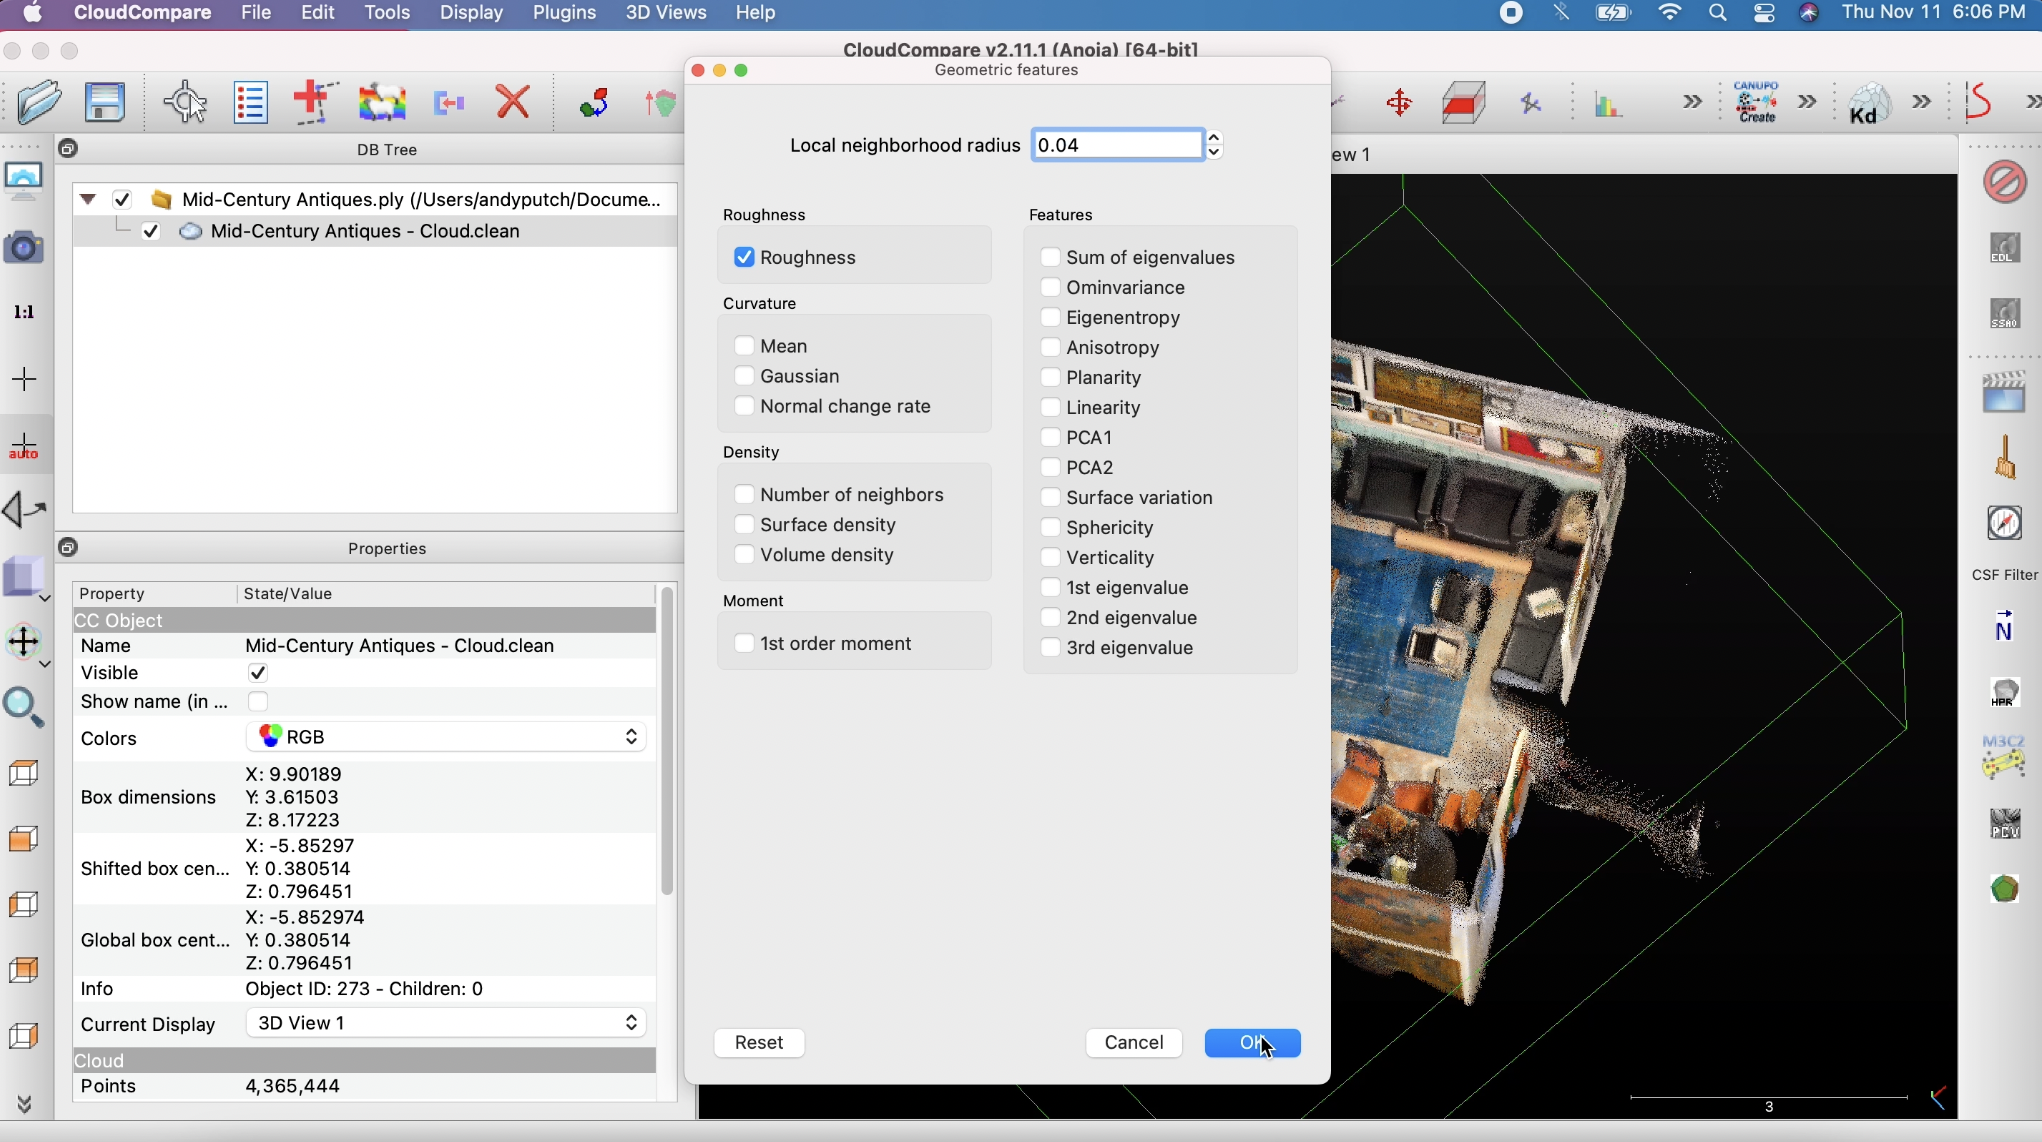
This will create a new file with the filtered version of the scan. You can delete the original file but note that CloudCompare does not have an undo button so you’ll need to start over if you mess up. The next step is to select the filtered file and go to “Tools”, “Other”, and “Compute Geometric Features”. Check the box next to “Roughness”, enter 0.04 for “local neighborhood” radius, and click ok. This process can take longer depending on your computer and the size of the scan.

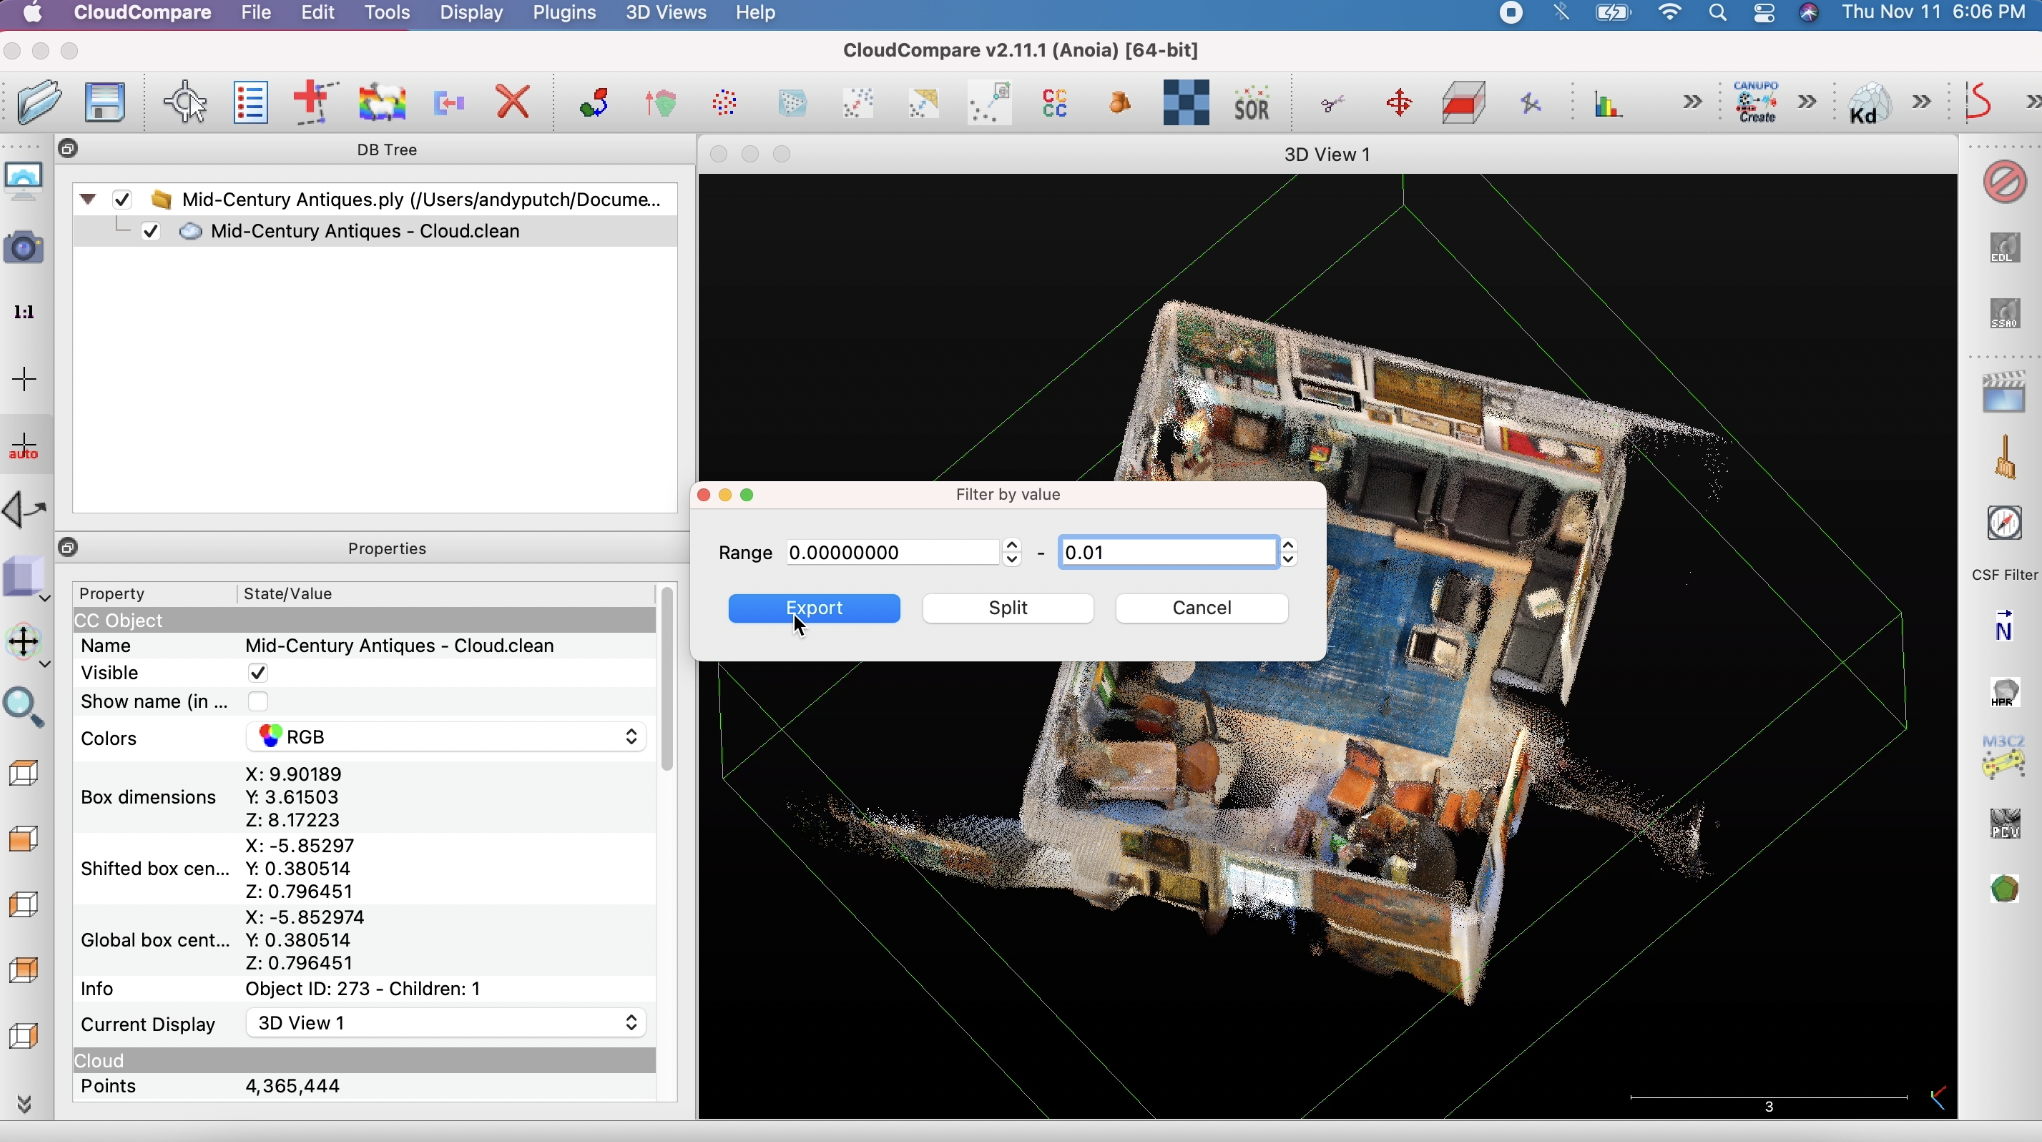
This will show the scalar field you have created. In the properties menu, go to colors and select RGB to return the scan to normal. Lastly, go to “Edit”, “Scalar Fields”, and select “Filter by Value”. Set the range as 0 to 0.01 and click export. Now you have a new file with your cleaned up scan that you can export by clicking the save icon.


Simple Scan Cropping
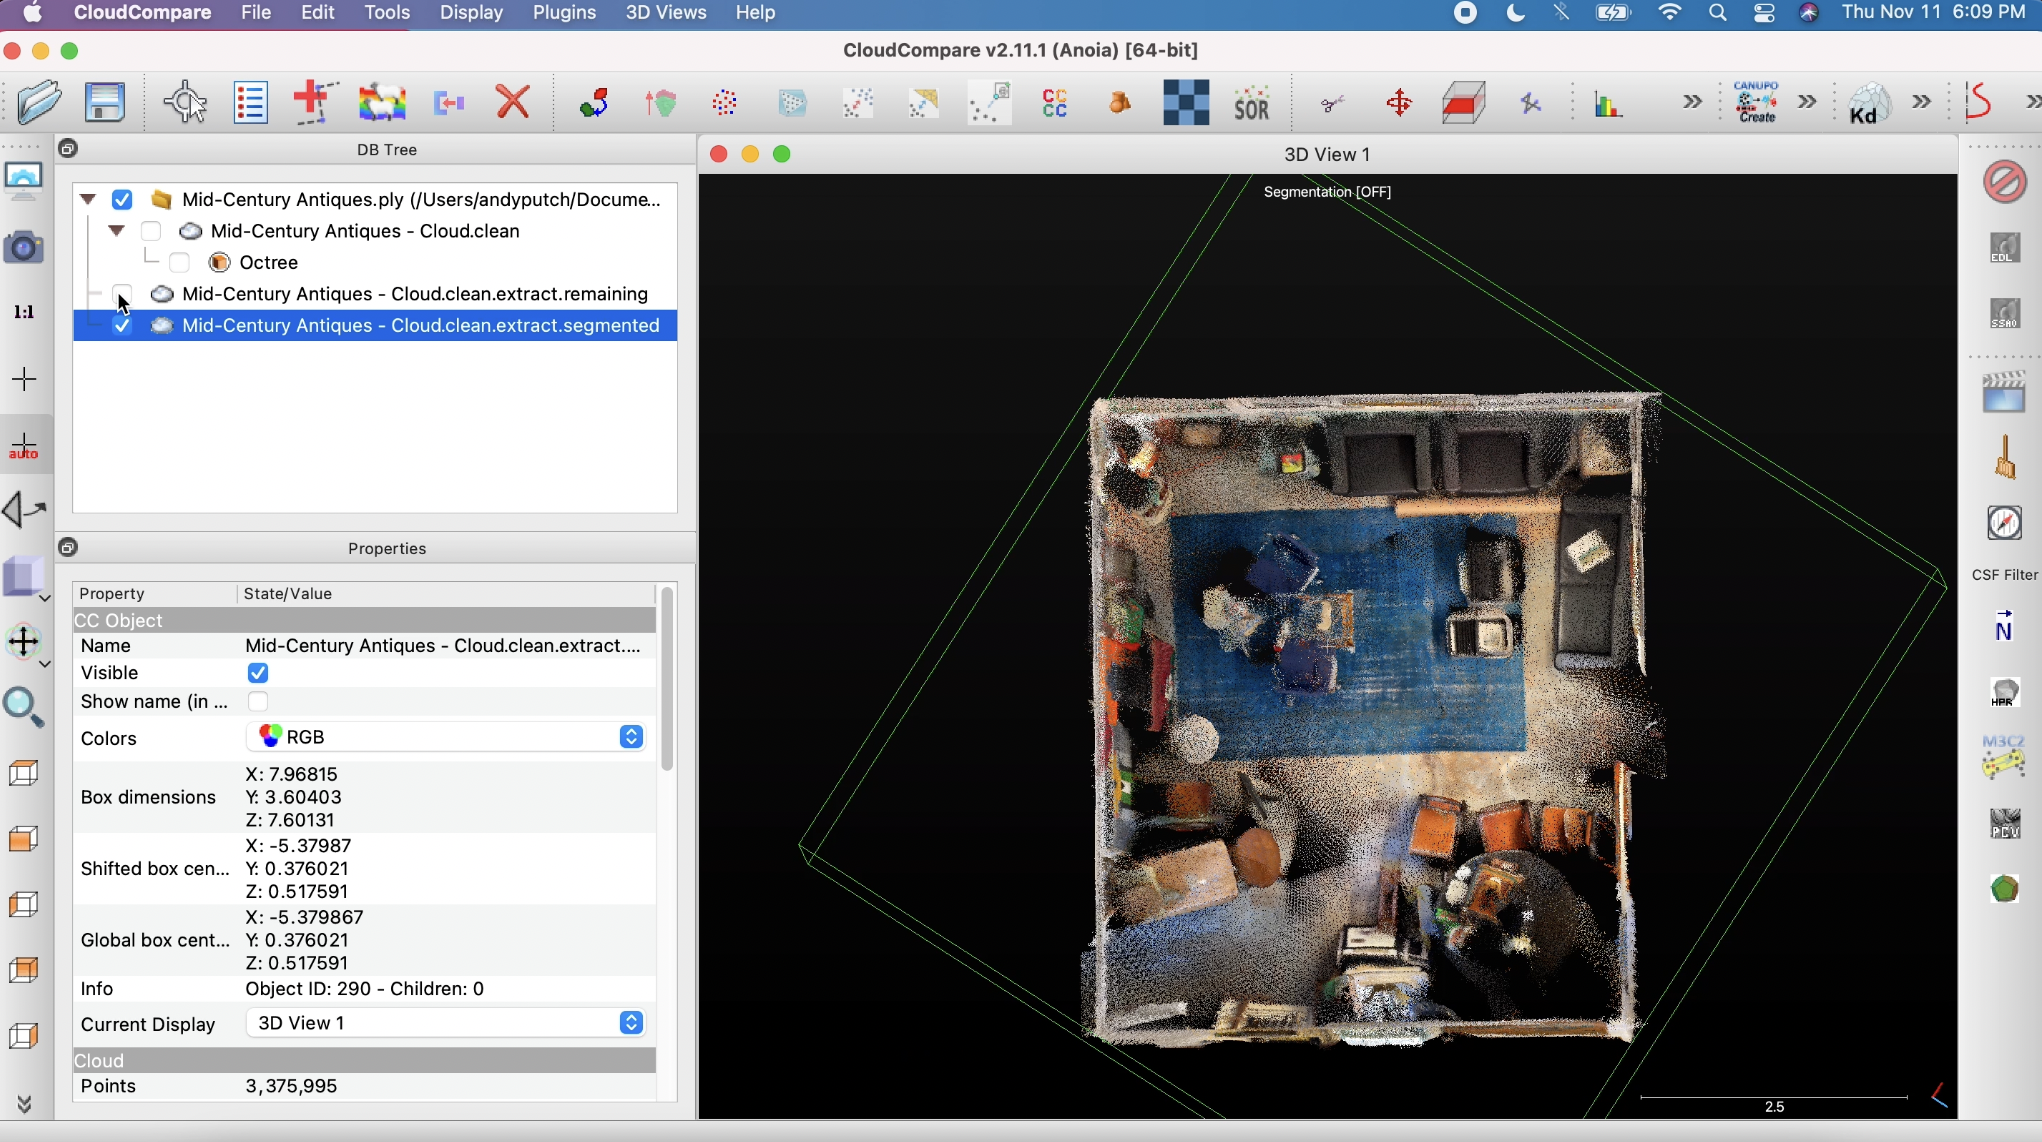
With the cropping tool, you can clean up the boundaries of your scan or remove everything except for a single object. Select the scan you want to crop and click on the scissors icon. Left click to draw a box around the boundary of your scan and right click to complete your selection. Click on the “Segment In” button to remove everything outside your selection and click the green check mark.


This will create two files, one labeled “segmented” containing only the points you selected and another labeled “remaining” which you can hide by unchecking it’s box.
Reducing File Size
Simplifying a scan will reduce your file size and can make large scans easier to work with. For most cases, we recommend keeping your scans under 100MB. To simplify a scan, select the file and click on the icon with red and blue points. To simplify scans with a high point density, leave the method as space and set the minimum space between points to 2 millimeters.


If you want to get a very large scan to exactly 100MB, set the method as Random and set the remaining points to 6,650,000.

X-ray / 3D Blueprint Mode
Finally, and this is mostly just for fun but can make measurements easier and more precise, here’s how to create a 3d blueprint or x-ray look for your scan. Select the file and go to “Tools”, “Other”, and “Compute Geometric Features”. Check the box next to “2nd eigenvalue”, enter 0.08 for “local neighborhood radius”, and click ok.


Again, this will show the scalar field you have created. In the properties menu, go to colors and select RGB to return the scan to normal. Go to “Edit”, “Scalar Fields”, “Filter by Value.” Set the range as 0.0004 to 0.0006 and click export.


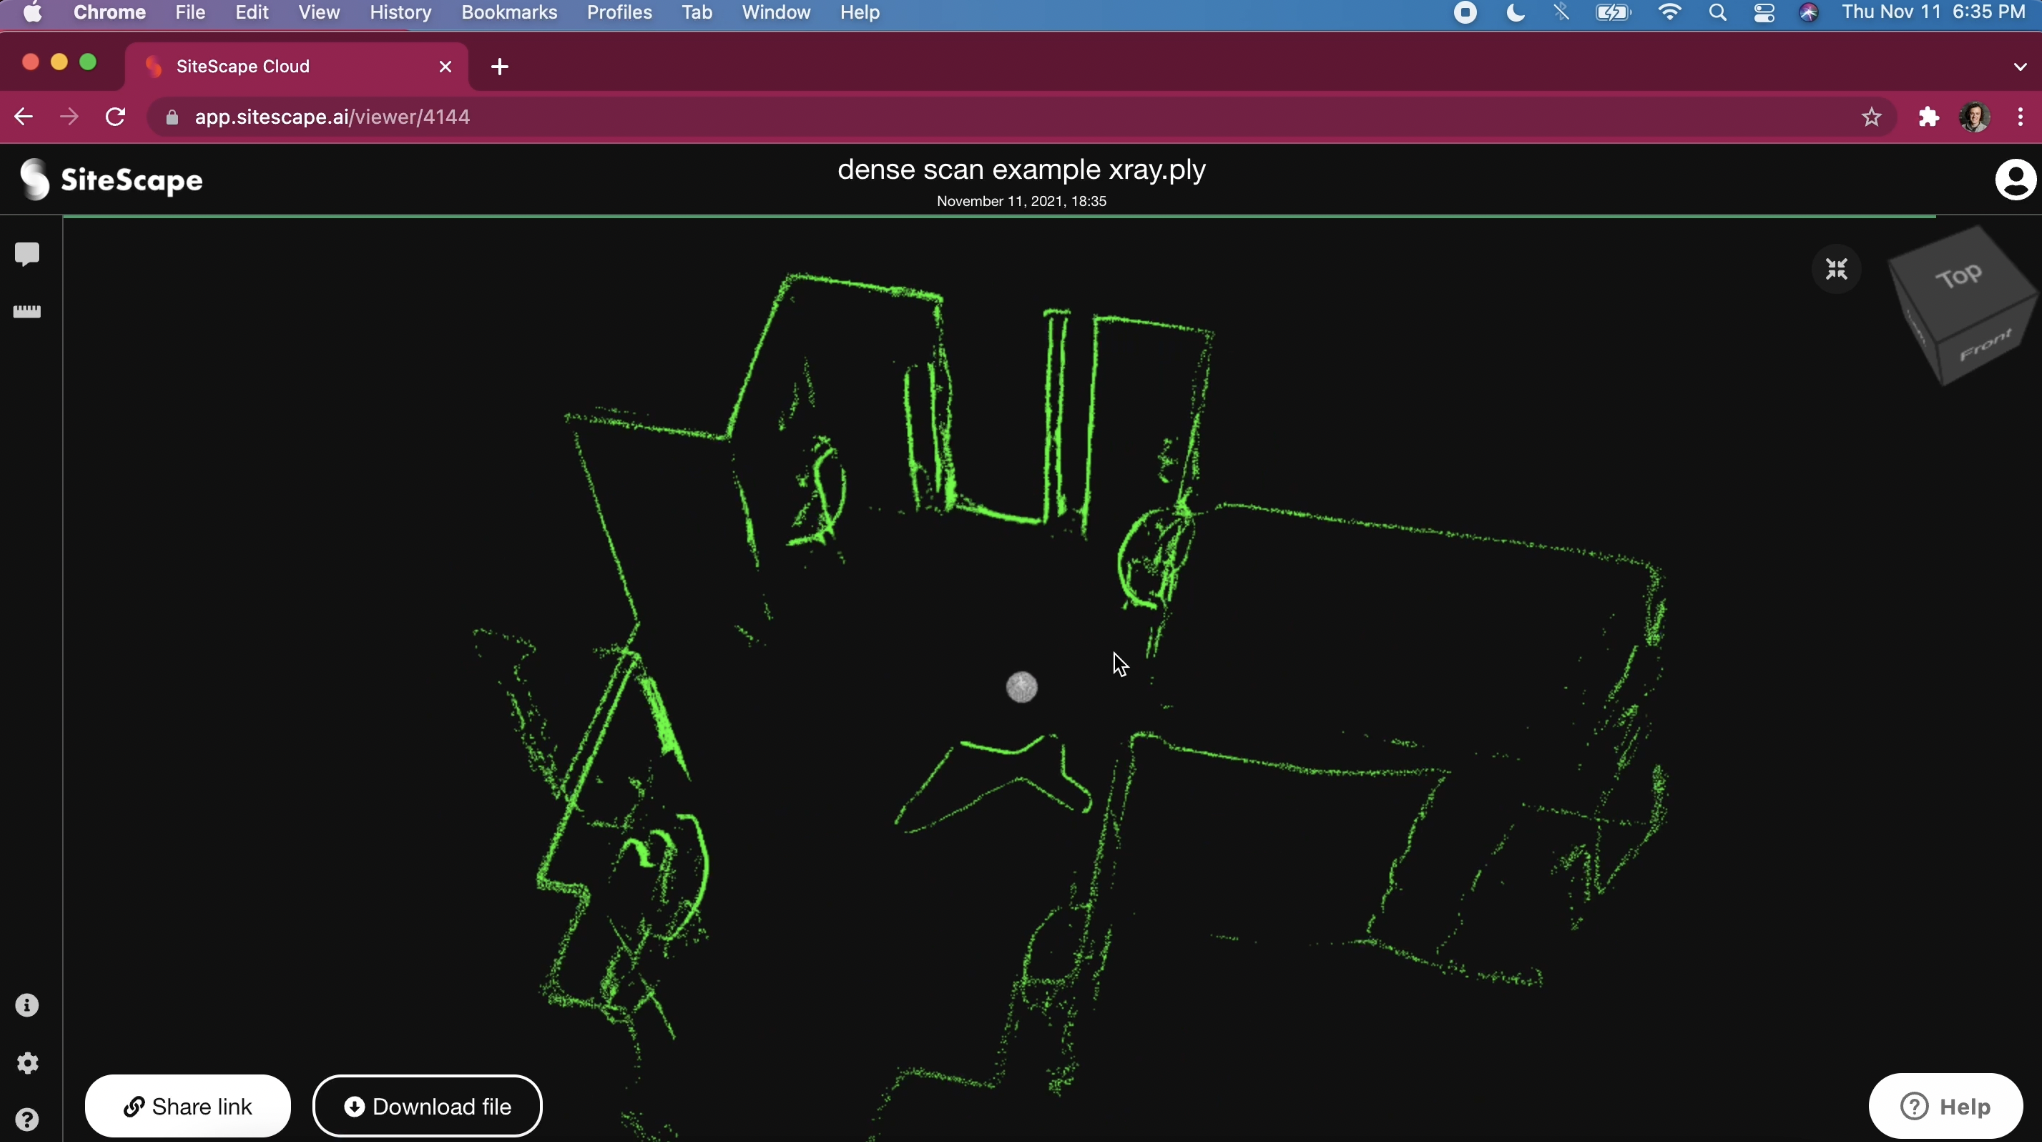
You now have a file with only the edges in your scan visible. You can save it as is or you can go to edit, colors, set unique, and pick a bright color like blue or green then click okay.


If the scan you started with was a PLY file and you save your x-ray version as a PLY, you can go to app.sitescape.ai and upload the x-ray scan to your SiteScape account.